I still
consider myself as an amateur because I know I have a lot to learn. However, I
love the progress I have made in the past 3 years since I started taking photography
serious. My baby (Canon 600D DSLR Camera) will be two years in March 2016 and it is indeed
one of the best things I have ever purchased in my life. I know I promised to
talk about how I edit my photos and I will do so soon. I want it to be really
detailed so I am taking my good time. Meanwhile, you can catch up on all my
Photography Posts and Blogging Tips on here if you fancy. Today, I will be sharing some simple
tips I have learnt about photography especially indoor photography for
blogging/beauty products. If you have any other tips, do leave them below so we
can all learn. Some of these tips are specific to a DSLR camera and others are
just general tips..
1. I am sure everyone
is sick of hearing this one but Lighting is key. Any photographer who knows his
art will tell you the same. Lighting can make such a huge difference in the
quality of your photo and it does not matter what equipment you have. Good
Lighting + Regular Camera can produce Amazing shots and Bad Lighting +DSLR/Expensive
camera can result in Terrible shots/images. I am a huge fan of natural lighting
and will always choose it over artificial lighting. I have one studio light and
a small LED light which I use during A/W and I can always tell the difference
in the quality (and I am sure you can sometimes too!!)
2. When you are using natural light, ensure that you take
your photos when the sun is mild (around 10am or 11am or when it is not blazing). If you take your photos
when the sun is blazing hot and directly shining into your room, it may cast
annoying shadows and mess about with your images.
3. If you have no choice and you have to take your photos
with the blazing sun, use a light curtain or white light cloth to diffuse the
light from the window. This would help get rid of any unflattering shadows on
your final image and give a soft natural look to your photos.
4. Always switch off your indoor bulbs because they cast an annoying
yellowish tint to your final image. I know it is very hard to switch off the light
and use natural lighting but you can always brighten the image post processing.
If you own a 50 mm lens, you won’t have any problem as you can increase the ISO
or mess about with the Aperture to allow more light. I do have to say the yellow lights do look quite flattering in some photos like Event Photos but then those are different quality to the ones people have in their houses. If you have Daylight Bulbs, I don't think they should interfere too much.
5. In order to create a stunning image, capture your images
at different angles especially ones that the human eye is not used to. Why do
you think Flat Lay photos are so attractive no matter how popular they have now
become? It is simply because it is taken from a Bird’s Eye view which is
totally different from the human eye view so it always catches our attention.
Don’t be afraid to try different angles and positions when taking photos. If
you ever saw me taking my blog photos, you would probably burst out in a
hysterical laugh. I am usually kneeling on the floor, standing on my chair or
sometimes table. Other times, I just sit on the floor so I can get a different
view of the image. It always makes a difference, Trust Me.
6. Take a few shots of each angle and you can delete them
just before you edit or transfer them to your computer. I always take multiple
shots and delete them just before I edit them. Sometimes, you may not notice
something is off on an image but if you have another shot, you can save the
day.
7. In the same vein, don’t take away your picture
setting/background until you are satisfied with all the shots you have taken (after viewing on your computer). I
can’t even count how many times I have had to redo my background because some
pictures turned out terrible. It’s really annoying and it’s all done to me
being impatient.
8. Always give your lens (regular camera, DSLR or iPhone) a good
clean before you start taking photos because it may produce really dodgy images
if you leave it dirty. Don’t use your sleeve to clean your DSLR lens or any
lens at all…that’s not cool!! *inserts rolling eyes emoji*
9. If you have time, ensure you check the images on the
computer as opposed to the camera’s LCD. This is because the LCD is such a small
screen and it may be difficult to detect some errors such as blur, noise, etc.
I have been sat on my bed feeling very satisfied after a photo session only to
open them on my computer and see some slightly blurry images. I usually check
them out quickly on my computer before I dismantle my setting.
10. If you own a camera that is heavy and you are getting
blurry images, try and invest in a tripod as it would prevent this. There are really cheap and I purchased mine for £13 in 2011/12 and it's going strong. If you don't have a tripod, you
can also lean/balance your camera closer to your body to prevent your camera from
moving/shaking which usually causes blurriness.
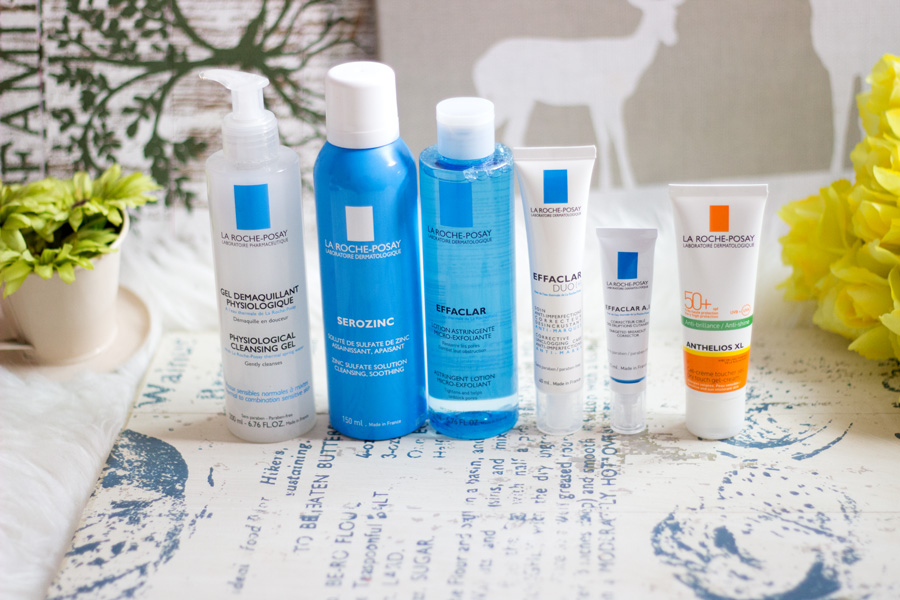
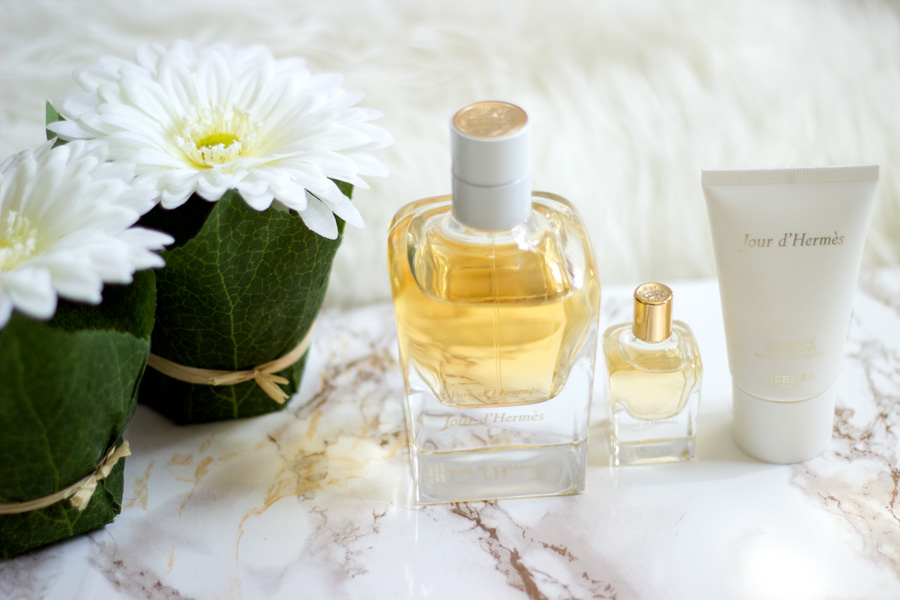


11. If you own a camera that has a flip screen, make ample
use of it. I cannot even imagine using my camera without it because it helps me
get the oddest angles ever. I use it for swatches, event photography (I raise
my camera high above my head and tit the screen downwards so I can see). It is
also really useful for flat lay photos!!

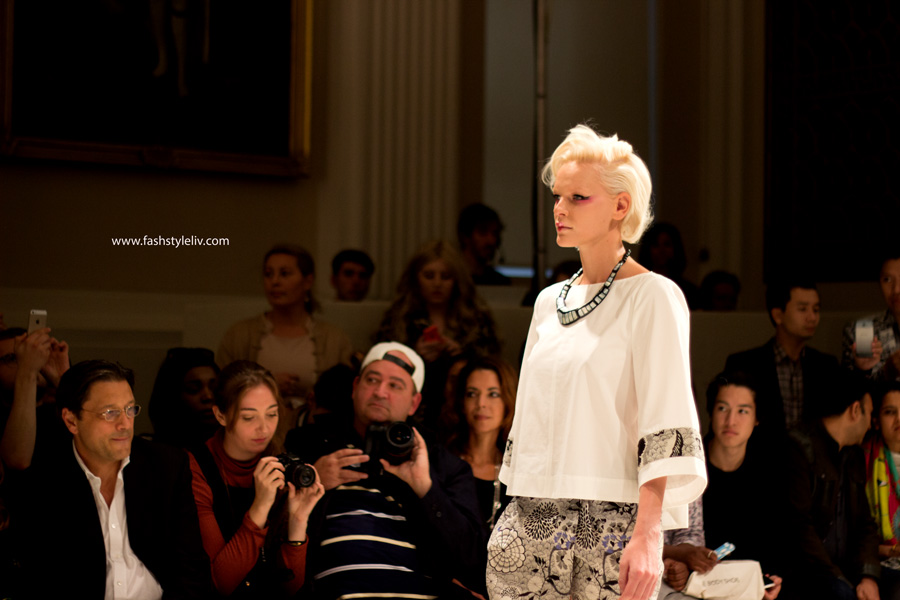
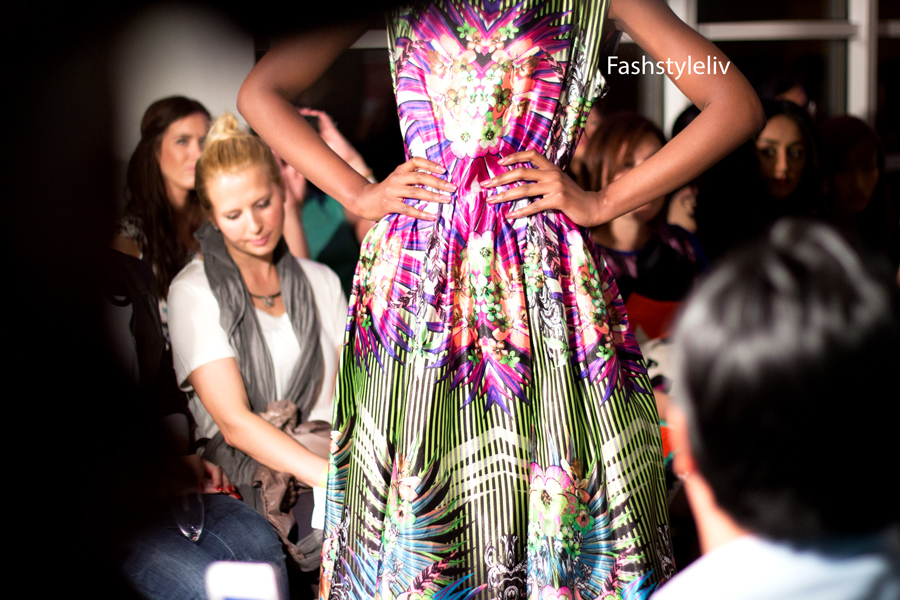
12. Photography is so much fun and it is really what you make of it. Don’t feel intimidated by people’s photos. You have something special to bring to the table. Your setting is different and your lighting is different so your photos may have their own unique beauty. Just have fun and look for ways to improve. That’s pretty much all my little tips for taking photos. I do have other tips but I don't want this post to be super long. If you like these kinds of post, do let me know in the comments box. I am always keen to learn new things so please leave more helpful tips in the comment box so we can all learn. Thanks for all your lovely comments about my photos; I really do appreciate them…xx


Great tips. (I prefer my Minolta- even though now it's Sony- both SLR and dSLR.)
ReplyDeleteThanks a lot and I have heard many great things about Minolta cameras!!...x
DeleteLovely tips! I adore your photos. I can take about 50 photos of the same post but i try so many angles until i feel it looks how i want it to.
ReplyDeleteEmmy | Emmys Beauty Cave | Bloglovin
Awwww thank you so much and your photos are so amazing as well!! I am the same as you and take loads of photos as well!! ...xx
DeleteThank you for this post. I'm always open to tips for taking photos. I also have a Canon (Digital and it has the flip screen which is quite handy. I usually can't take advantage of natural light. What do you recommend for lighting in that situation? Traci with blushednpolished
ReplyDeleteAwww thank for stopping over and your choice of Canon is a good one. Natural Light (or the lack of it in the UK) is an absolute pain. I try to use NEWEER LED Lights which I got from Amazon and I have a Studio Light Box (just one) which helps as well!!...xx
DeleteThanks so much for this post! I love all the tips, they're all so helpful! <3 xx
ReplyDeleteJasmine || http://www.blogsallbeautyy.blogspot.co.uk
Thanks a lot Jasmine and I am glad you enjoyed this post...xx
Deletegirl these are such amazing tips! the weird photo-taking poses are the story of my life too bahaha.
ReplyDeletethis was amazingly useful (:
and oh man, how I wish my camera had a flip viewfinder screen! *sigh*
Life in Pastel
hehehehe, thank you so much and I am so pleased you found them useful. I totally now the struggle of not having a flip screen. I have been contemplating upgrading but I do desperately need one with a flip screen...xx
Delete